CONTROLLED TRACING TEST · OCTOBER 13, 2026
Coloring Page Maker: Why Do Faint Edges Disappear?
A weak subject boundary and a simplified tracing preset can produce a pale or missing outline. Compare the original input with Detailed and Clean Outline before printing. Our matched-circle test below shows that a trace can contain faint ink even when its dark-pixel count is zero; switching styles changed this result.
Compare your photo's line styles →
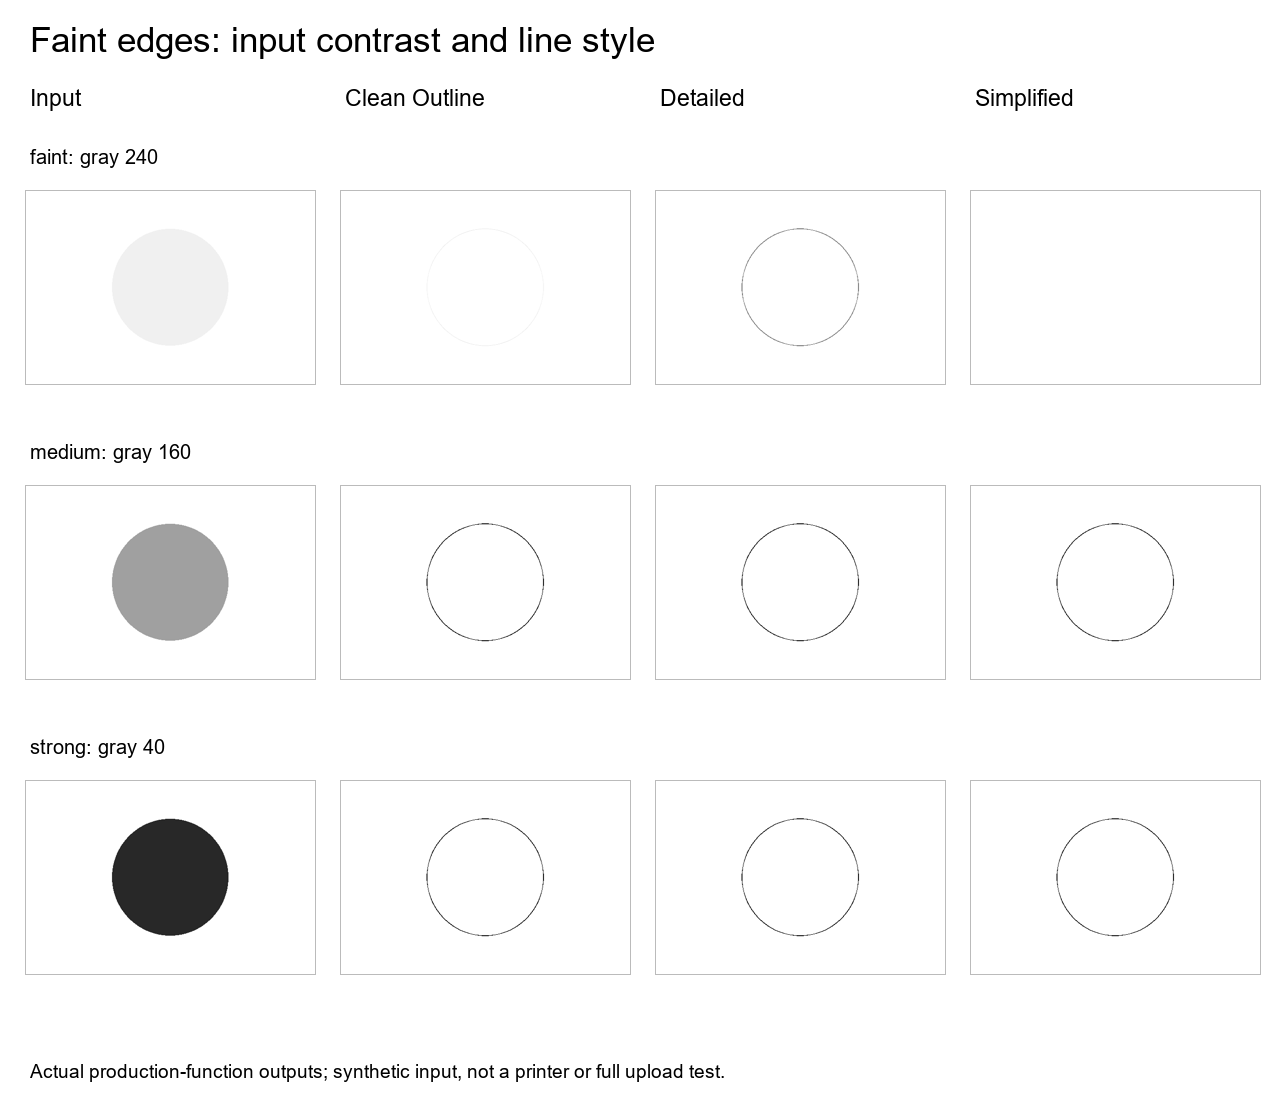
One shape, three boundary strengths
On October 13, 2026, we created three opaque, 600 × 400-pixel images with Pillow. Each has a white background, RGB (255, 255, 255), and the same ellipse bounding box, (180, 80, 420, 320). The fill is gray 240, 160 or 40. The corresponding fill-to-background gray differences are 255 − 240 = 15, 255 − 160 = 95 and 255 − 40 = 215. These are pixel-value differences, not percentages, camera exposure settings or recommendations for editing a real photo.
We decoded each PNG to RGBA and ran the site's current makeLineArt function with Clean Outline, Detailed and Simplified. The public app.js matched our local copy byte for byte before the run. We held the dimensions, circle position and presets fixed; only the fill changed. This excludes upload resizing, page layout, download conversion and physical printing.
The nine measured outputs
| Input | Preset | Pixels below gray 128 | Pixels below gray 250 |
|---|---|---|---|
| faint | clean | 0 | 1024 |
| faint | detailed | 1024 | 1088 |
| faint | simple | 0 | 0 |
| medium | clean | 1068 | 1068 |
| medium | detailed | 1068 | 1068 |
| medium | simple | 1068 | 1068 |
| strong | clean | 1056 | 1056 |
| strong | detailed | 1056 | 1056 |
| strong | simple | 1056 | 1056 |
Each count covers 600 × 400 = 240,000 output pixels. For a chosen threshold t, the formula is the number of positions where the output's gray value is less than t. Threshold 128 counts darker marks; threshold 250 also includes very faint marks. We used strict “less than,” not “less than or equal.” Output pixels are grayscale with opaque alpha.
The faint input with Clean Outline produced zero pixels below 128 but 1,024 below 250. Its result was pale, not completely empty. Detailed produced 1,024 below 128 and 1,088 below 250 from that same input. Simplified produced zero under both thresholds. With the medium and strong inputs, all three presets produced dark marks. More input contrast did not make the dark-pixel count increase in a perfectly straight line: the medium and strong results had 1,068 and 1,056 dark pixels respectively. The shape's traced edge can move or change thickness.
This is why a single “number of black pixels” can mislead. It says how much ink met a threshold, not whether the contour is accurate, attractive or easy for a child to color. Our test has one circle and three flat fills. It does not measure faces, hair, textured backgrounds, children's preferences or every possible photo.
Inspect the same pixels yourself
- faint: input; Clean Outline, Detailed, Simplified
- medium: input; Clean Outline, Detailed, Simplified
- strong: input; Clean Outline, Detailed, Simplified


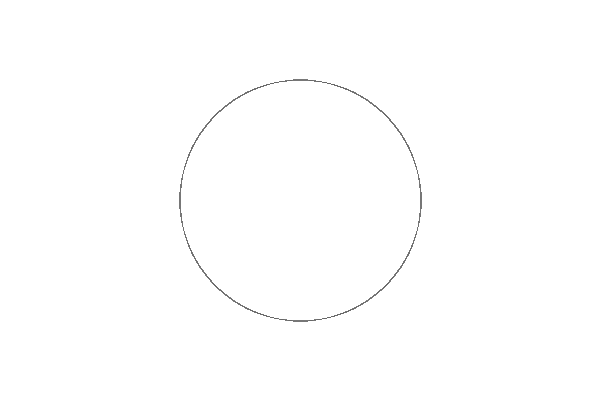


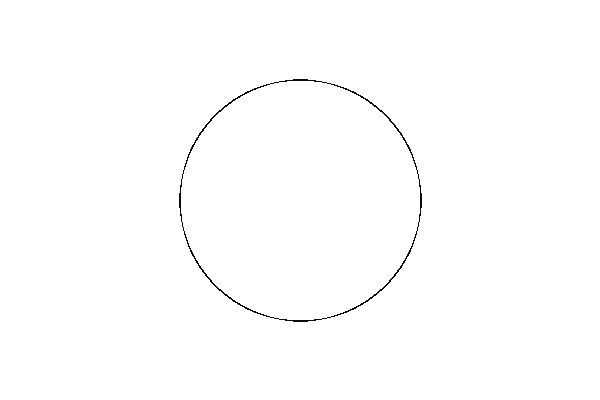
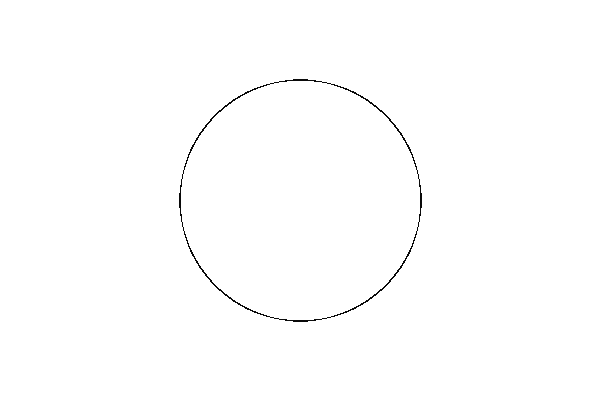
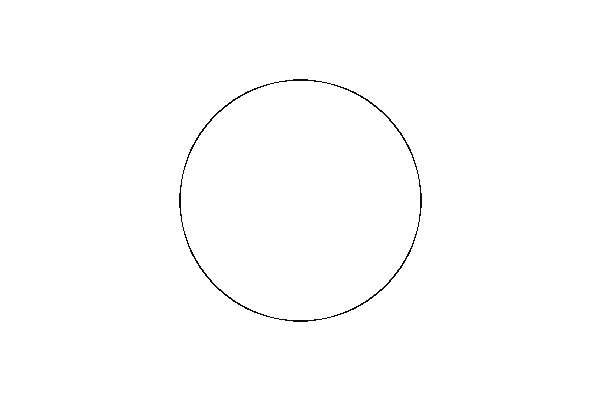

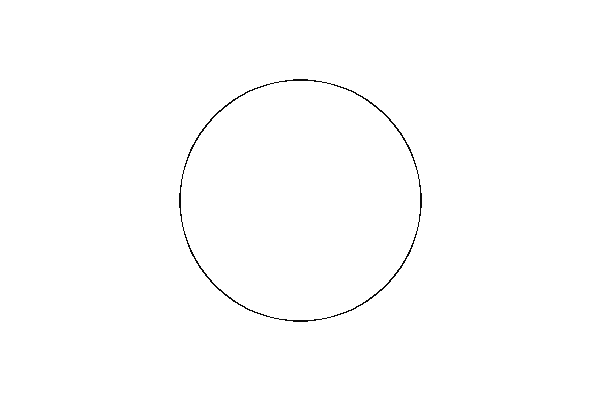
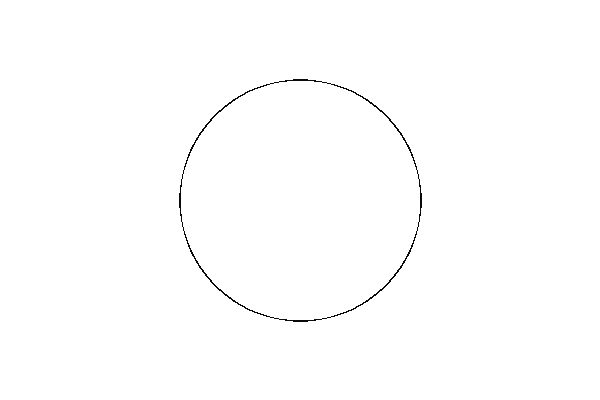
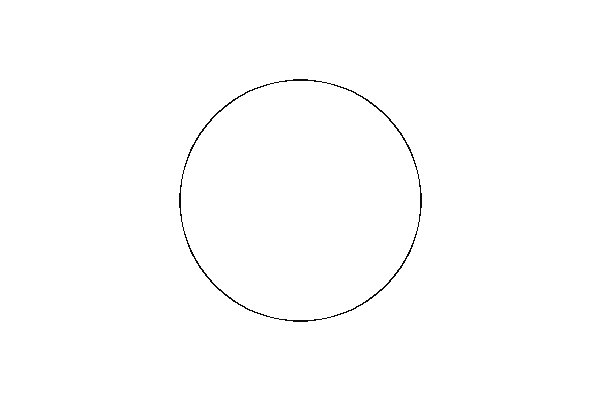
Download the full-size PNGs and compare the circle boundary. The article's resized preview is useful for seeing the overall change but cannot reproduce the original pixel counts. The input contains no fine texture, so we cannot use it to promise that Detailed will preserve every desired edge without adding unwanted detail in a photograph.
A practical check for a pale result
- Return to the original image. Keep it alongside the trace so you can see which boundary was lost.
- Compare Detailed and Clean Outline with the same photo and crop. In this fixture Detailed preserved darker ink for the faint circle; your subject may behave differently.
- Check whether useful subject edges actually separate the object from its background. Increasing contrast is a possible experiment, not a guaranteed repair; keep the untouched original.
- Judge the printable contour and preview it at page size. Avoid choosing a preset only because it produces more marks.
If the input is soft rather than faint, use the separate blurry-photo test. If compression may be involved, compare the matched PNG and JPEG inputs. These are different controlled experiments, so their counts should not be combined as a quality ranking.
Watch the experiment
Watch the narrated faint-edge test, with English captions and an MP4 download.
Sources and scope
The original fixtures, nine downloadable outputs and public production code are the evidence for our measurements. We reviewed the required benchmark pages in order: Mimi Panda, iColoring and Canva. Mimi Panda discusses contrast and style choice; Canva discusses clear subjects and refining styles. Our contribution is the exact matched-input and two-threshold comparison for this site's converter. We did not run or infer their private algorithms.